Case Study | Marketer Seeks Video Editor: A Collaborative Win-Win

The dream team at SNL
Peanut butter and chocolate.
Ice cream and waffle cones.
Groceries and pickup.
Tina Fey and Amy Poehler.
The best collaborations feel easy and flow like water. They make people forget the time before they were together. They allow people to shine without dimming each other’s light.
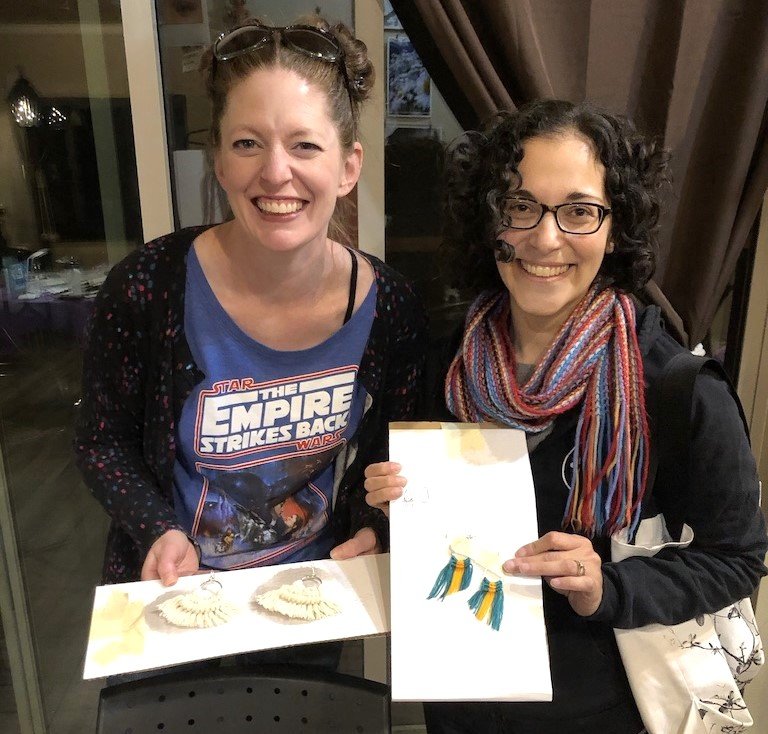
That’s what my recent joint video effort with Rebecca Gilmore of Gilchek Creative felt like. And I’m sharing about it because I love collaborating with marketers.
“The best collaborations feel easy and flow like water.”
Our Backstory
Now, I have to admit at the forefront — Rebecca and I have an unfair advantage. We’ve worked together closely at two other companies before we both became freelancers, and we’ve been friends (and have cat-sat for each other) for nine years by this point.
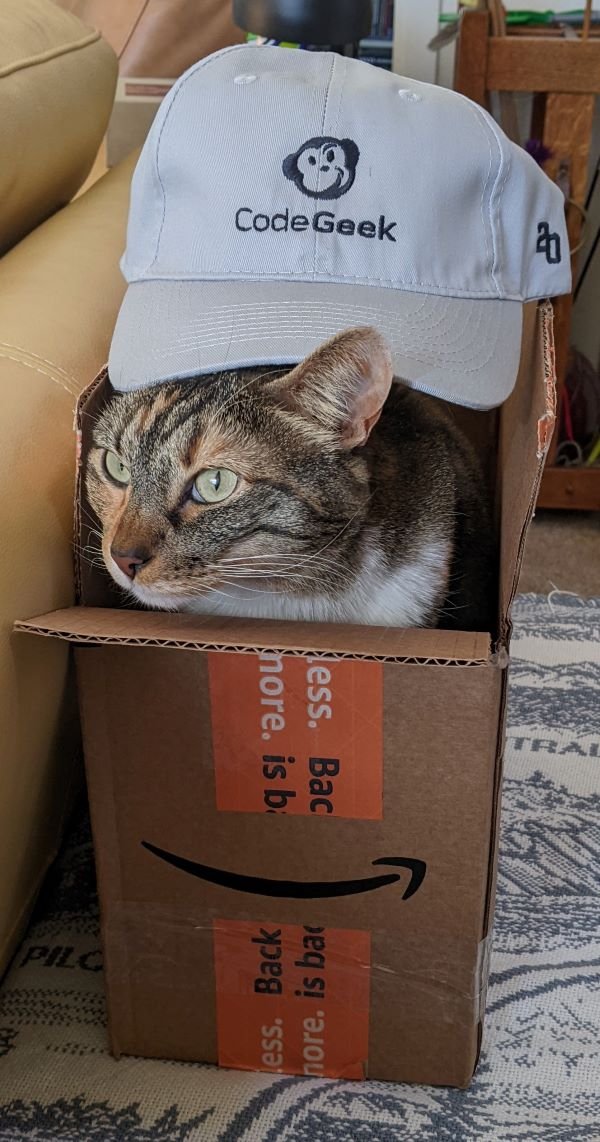
So when Rebecca came to me with a video project for one of her marketing clients, I did a little happy dance in my office chair. The client, CodeGeek, a web development and design agency in Fort Collins, was a company I already knew well, and they implicitly trusted both of us to deliver something amazing.
“Our client trusted us implicitly to deliver something amazing.”
The Vision
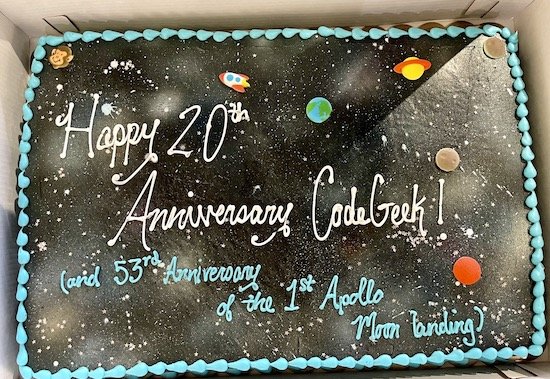
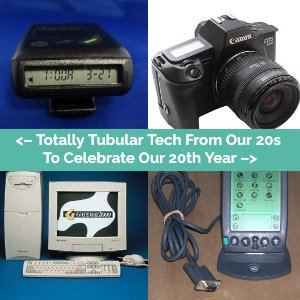
CodeGeek wanted a video that would serve as a yearbook showcasing their year-long celebration of their 20th anniversary. The video would support their relational marketing efforts to increase brand awareness, improve brand loyalty, and support the internal brand.
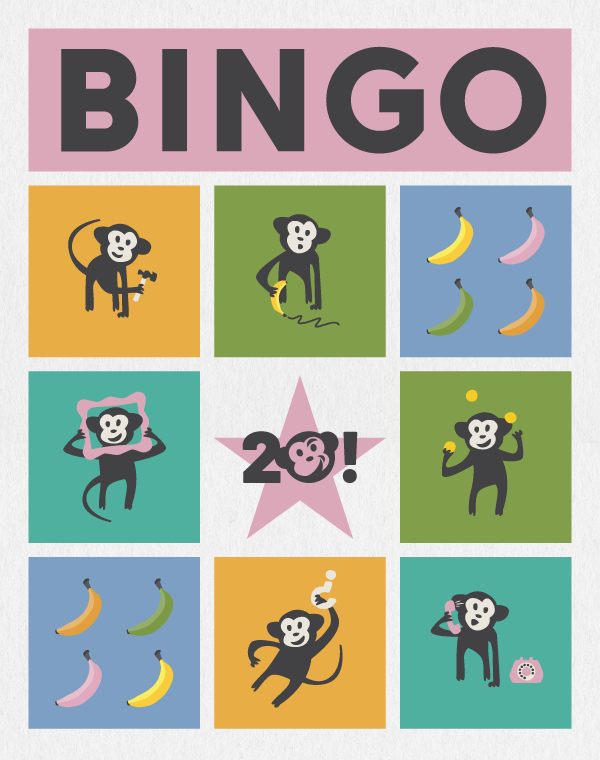
Throughout the year, CodeGeek published fun articles, shared throwback posts, developed new graphics, and threw an epic anniversary party (which was complete with an out-of-this-world space theme).
Armed with all these pre-made assets, which already had a 90’s retro vibe, our vision for the video snapped immediately into place:
The video’s tone would be playful and fun, but not braggy.
Just like CodeGeek itself, we’d strive for messaging that was humble and appreciative.
Their goal was to use this video in their holiday email newsletter, on their blog, and on Facebook and LinkedIn, so the whole thing needed to be short.
We determined that a retro photo album video was the perfect fit. And, fortunately, this offered up an affordable and time-saving option: video templates.
The Process
Step 1: Select a video template
Templates are motion graphics that have been pre-created by a motion graphics artist for use in videos.
I pitched to Rebecca the idea of using a video template and then got to work searching for options that fit with our vision. We landed on this 90s-inspired template for their video:

Don’t worry about the travel stock photos—you won’t have to imagine what the end result looks like for long!
Pros:
Video templates can help save on project budget because they speed things up.
Templates also can be a great option if the client has a certain vision in mind—and is open about how it is achieved.
Cons:
Templates can be pretty simple and limited in the degree of customization allowed.
They also can be hard to work with, depending on the creator. Some have really funny quirks that a video editor doesn’t find out about until they actually start using them!
All that to say, templates can be a great choice for certain projects and budgets, but they do still require effort, strategy, and forethought to get the most out of them.
“This was our first time using a template for a video project, and we loved it! The template provided just enough limitations that it allowed our creativity to thrive. We understood what the editable areas were and could envision the story quickly because of it. We absolutely love the final product!” — Ron Zasadzinski, CodeGeek
Step 2: Gather assets
After confirming the template choice, Rebecca gave me all the design assets.

Assets for videos can vary, especially depending on the vision and goals of the projects, but an asset list can include any or all of the following:
company logo and other branding assets
campaign graphics
social media graphics and posts
team photos
website screenshots
other videos
copy or video script
creative direction and/or storyboards
Step 3: Create the scene outline
After reviewing the assets and familiarizing myself with the template itself, I pulled the copy into a scene outline, which breaks down the scenes throughout the video.
When putting something together on paper vs. in a visual medium like video, there always needs to be a little wiggle room. Things often don’t translate exactly as the creative direction or script lays out, and flexibility is key.
For example, the copy that Rebecca wrote for each slide didn’t always fit due to the space limitations of the video template. Fortunately, flexibility and adaptability is something Rebecca truly excels at, and she just found another way!
“Things often don’t translate exactly as the creative direction or script lays out, and flexibility is key.”
Step 4: Select the music
The music selection process was the most fun part. I knew that we needed something fun and playful to go along with the video theme. Using my Envato Elements service, I typed in keywords like “classic rock” and “space” to see what would come up.

An example of a music selection on Envato Elements
I gave Rebecca two musical options—one was a robotic-sounding theme and the other was inspired by classic rock.
Because we know each other so well and the project vision was so clear, I had a very good idea which would be the final choice (the robotic theme). I definitely played to my audience with that one!
Music can do so much to set the mood, and the robotic theme definitely fits the playful, fun, 90s vibe we were going for in this video.
“That music score just ‘fit,’ and it's quirky and happy and goes perfectly with the retro theme we've been leaning into all year.” — Rebecca
Step 5: Review & Edit
The review process is critical to making sure that all the pieces from the initial vision make it into the final piece, checking for typos, and ensuring everything looks the best it possibly can.
When I work with a middle person (like Rebecca was between myself and CodeGeek in this project), I allow for an extra review round.
Step 6: Launch & Give High Fives

When the video was released in early December, Rebecca quickly heard back from colleagues and friends with compliments.
One CodeGeek employee noted, “Nicely done! So much fun to watch and look back at all the cool stuff we did this year.”
And we greatly appreciated the enthusiastic praise from another, “I loved the video!!!”
Best of all, Ron and the CodeGeek team were happy with the end product.
More About Awesome Collaborations
Our partnership allowed me and Rebecca to use our respective expertise in ways that best complement each other. And that’s the goal of any collaboration.
We both showed up to give it our all and create something wonderful together. There was no power tug o’ war. There was only mutual respect for each other’s specialties.
“I love partnerships where both parties embrace their specialities and aren't afraid to say what they want and make bold but kind (and strategic) recommendations based on that.” — Rebecca
Shortly after this project was completed, Rebecca and I took this creative type quiz by Adobe Create.
Not surprisingly, her creative type was the Visionary and her ideal collaboration type was … The Thinker, which was what I got for my type!
Needless to say, we’re looking forward to our next collab together!
Are you looking for a creative collaborator for your video projects? If so, let’s chat! (I don’t have to know someone for nine years to create a beautiful collaboration together.) 😉
And if you can’t get enough of CodeGeek’s 20th anniversary photo montage video, check out my portfolio for the project details.